Pages

Showing posts with label crafty. Show all posts

May 2, 2014

Patrick's Birthday Card

I love a good greeting card, and every holiday, I try to outdo myself making Patrick a homemade card.  This year, Patrick's birthday fell on Easter Sunday, and, since I worked late Saturday night, I decided to put his "cards" up on the bathroom mirror for him to see when he woke up.  Here's what the final product looked like:


A bit mean for birthday cards, eh?  Look a bit closer...


I know some of those are still a bit hard to read, so here's the full text:

without YOU life would SUCK.
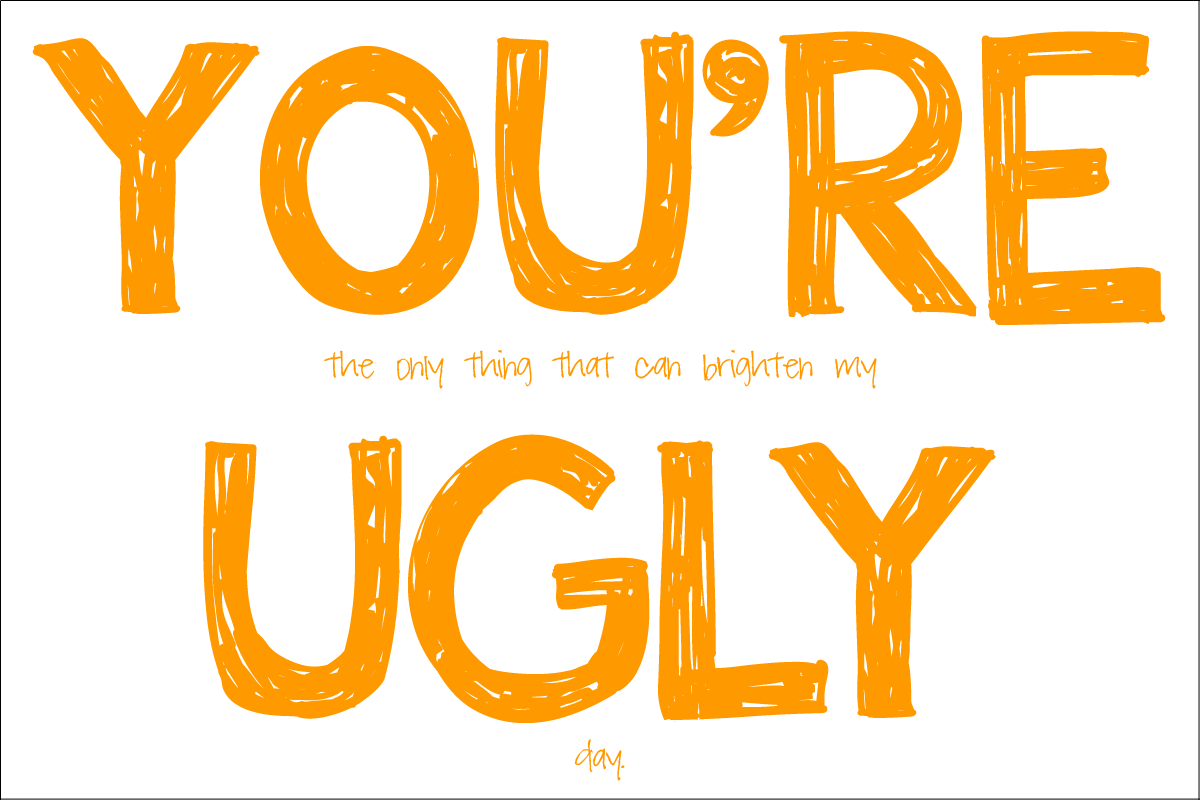
YOU'RE the only thing that can brighten my UGLY day.
I HATE that YOU have to work today.
I WILL END anyone who tries to eff with YOU on your birthday.
HAPPY BIRTHDAY! I LOVE YOU!

(The red "I WILL END YOU" card is a reference to this Aziz Ansari joke, which is from his stand-up special Buried Alive, which you should totally watch.)

It was all I could do to not crack up as I watched Patrick squinting at the mirror in the morning.  Not your conventional greeting cards, but I love it! And in case you're interested in recreating a similar lovefest, I made some digital versions, too!


Anyone else love to make homemade greeting cards?

Mar 17, 2014

What I've Been Cooking Lately

For Christmas, Patrick got me this chalkboard menu from Hobby Lobby.  I love to cook, and now I have a pretty place I can list our meals for the week!  Since there's just two of us, and I work three nights a week, menu planning like this will usually last me two weeks or so, as I won't cook every night.  Here's some of what I've been cooking lately!


recipe from Closet Cooking
Patrick is crazy about goat cheese, and this is an easy favorite for us.  I don't usually bother with the basil called for in the recipe, but it's still great.  Also, if you've never roasted your own red pepper before you seriously don't know what you're missing.

Chicken Croissants
recipe from Mom
We ate these all the time growing up, and I still love them.  Basically, you fill crescent rolls with chicken and cream cheese and bake them with breadcrumbs on top.  We usually eat them with a side of asparagus and rice.

recipe from Skinnytaste
This isn't the quickest recipe, but it's well worth the time and effort it takes.  A bit on the dangerous side when it comes to trying to cut the butternut squash, though... why is it so hard to do?!  At any rate, I've made these a few times and they've always turned out great.

recipes from Budget Bytes
There's a reason Budget Bytes is my favorite recipe website, and these two are on constant rotation.  I've never bothered to add the sesame seeds, but it's still delicious without it.  The best part about the chicken recipe is that I pretty much always have the ingredients on hand, so I can make this whenever the mood strikes.  Plain old jasmine rice will go just fine with the chicken, but the coconut version just takes it to a whole new level!


Yep, you can still see the recipes from the last time.  I think I need to re-chalkboard paint the background so it doesn't keep absorbing the wet chalk pen paint.

Coconut Chicken Curry
recipe from the Budget Bytes cookbook
When I was in college, I lived downstairs from an Indian couple, and I always hated the food smells that came from their apartment.  Flash forward six years, and now I'm cooking curry and filling my house with that smell voluntarily.  Go figure.

recipe from Budget Bytes
If I had to pick one favorite from Budget Bytes, this would be it.  I hate making meatballs, because touching raw meat with my hands grosses me out, but this recipe is so worth it.  Just like the sesame chicken above, I don't bother with the sesame seeds, and I make it both with regular rice and with coconut jasmine rice.  You really can't go wrong with this recipe, I promise!

Jambalaya
recipe from my cousin Brittney
I wanted to make some genuine jambalaya this month in honor of Mardi Gras, so I texted my cousin from Baton Rouge for a good recipe.  She didn't disappoint!

Beef and Mushroom Stroganoff
recipe from the Budget Bytes cookbook
Mmm, I might have lied about the Terikyaki Meatball Bowls being my favorite Budget Bytes recipe.  I don't know what it is about this one that is so phenomenal, but man oh man it is.  Think of a Hamburger Helper recipe but 10000000% better, and only 1% more work.  So good.

Chicken Enchiladas
a hybrid of this recipe from Skinnytaste and this one from Budget Bytes
I've made each of these recipes on their own before, and I decided to take the best of both and combine them.  I used the sauce from the Budget Bytes recipe (although I added chipotles like in the Skinnytaste sauce) and the filling form the Skinnytaste recipe, and the combination was even better!

What have you been cooking lately?  Am I the only one that posts a menu in the house?

Feb 18, 2014

Mini- Binder Dividers

As in, mini-dividers for your binder, not dividers for your mini-binder.  Confusing, I know.

Anyway! Last week I finally bit the bullet and started printing hard copies of my favorite recipes. I love to cook, and it was getting a bit ridiculous trying to look up the same recipes over and over. I knew I wanted to organize the recipes by type, but I also knew that I had no dividers on hand and didn't feel like buying any.


The good news is, with a little cardstock and some labels, I created some mini-dividers that get the job done and look pretty doing it! Here's how to do the same yourself:

1. Grab some pretty labels and cardstock. I have a book of 5x7 multicolor cardstock that I used, but the name of the game is Use Whatever You Have On Hand, so any size will really do. My labels are from the dollar spot at Target, and the cardstock, ummm, who knows where I bought it. It's lasted me ages.

2. Use a ruler to divide your cardstock in two, vertically.  If you use 5x7 cardstock like I did, you'll end up with two 2.5x7 pieces.

3. Using the ruler (again), put the left edge of your label approximately half an inch from the left edge, which will make your label appear centered.  As you can see, I wasn't very precise measuring this.  As for how far from the top I placed the label, I just eyeballed it with a slight border from the top.  (If you are using a different size cardstock, you will need to play around to figure out where to place the label in order for it to still appear centered after you punch your holes.)

4. Use the ruler on your 3-hole-punch to punch holes in the same place in each piece of cardstock.  This is the hardest part, but, honestly, it's not too hard.  I held my cardstock up to paper in the binder already to determine about where I wanted the holes, and then I used the ruler on the 3-hole-punch to approximate that measurement.  In retrospect, I wish I had made the holes a little lower so that the dividers poked out a bit more at the top, but to me it was more important to have the dividers consistent. (I tried to show you the ruler on my 3-hole-punch here, but I wasn't as successful as I'd hoped.)

So there you have it!  They don't really have the same functionality of regular binder dividers, but I already know the order of my categories in my recipe binder, so this does the job, cost me nothing, and adds a little bit of pretty! :)